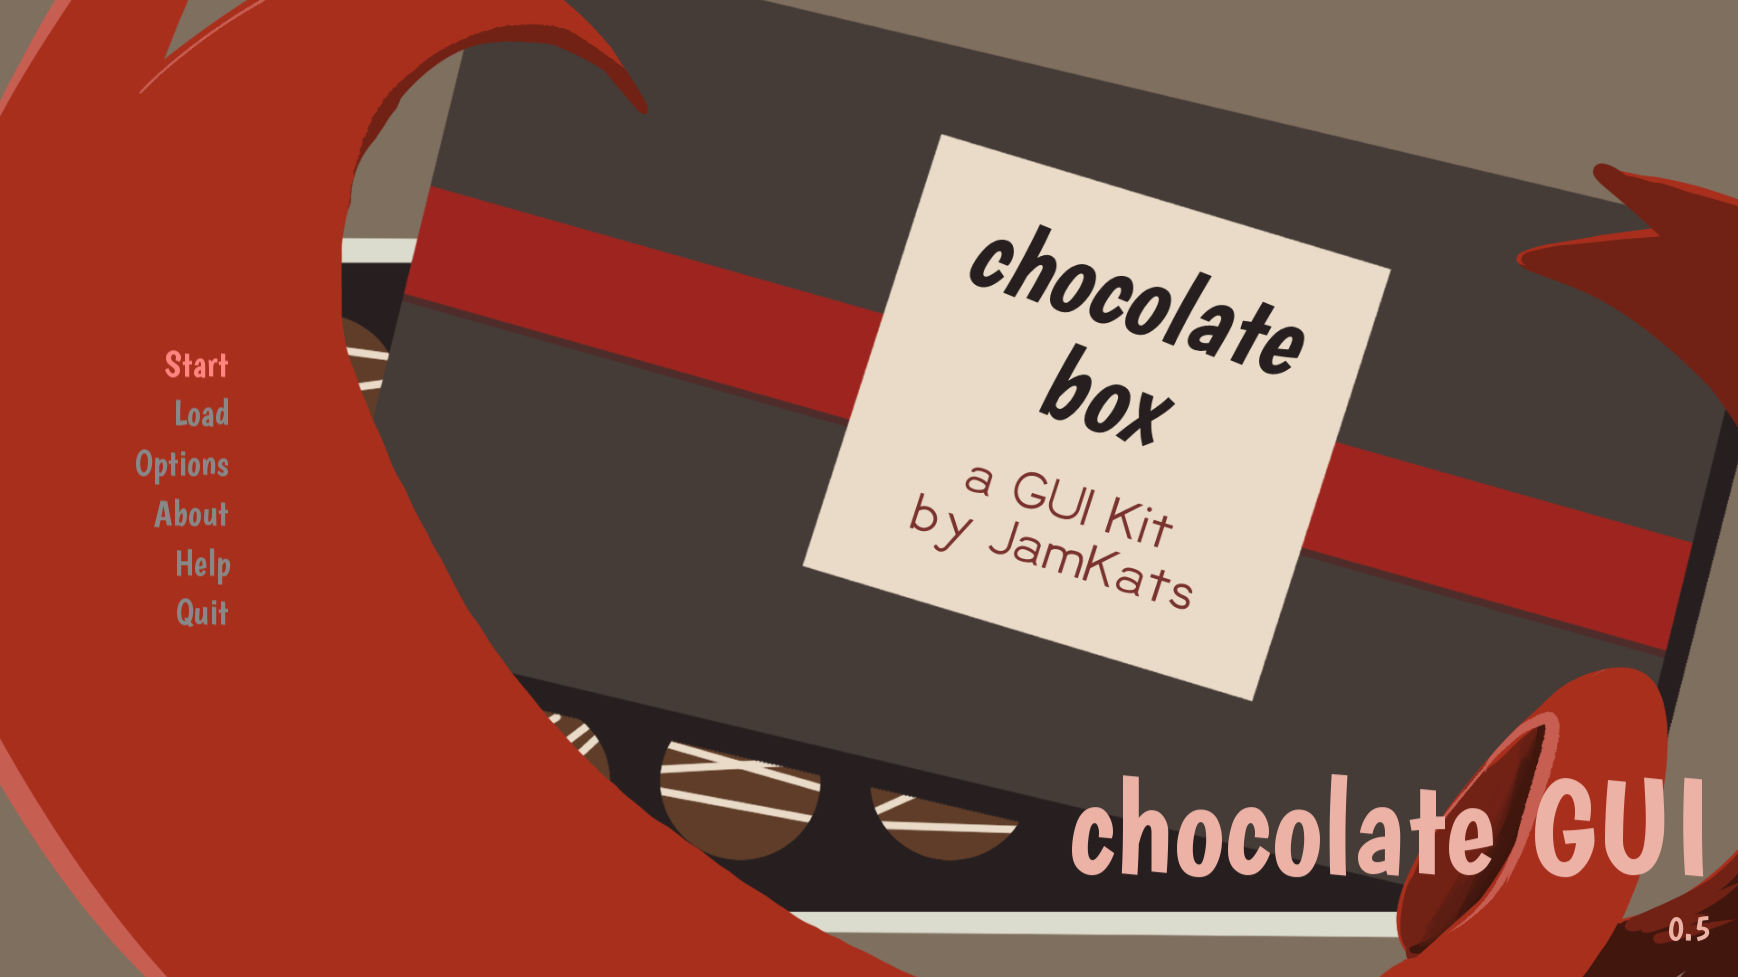
Chocolate Box GUI Kit
Happy Valentine's Day! This sweet visual novel GUI kit was built for Ren'py (but can be implemented wherever your heart desires ❤!)
Created for the Make Visual Novel Assets! Jam
Includes
Illustrated Assets such as...
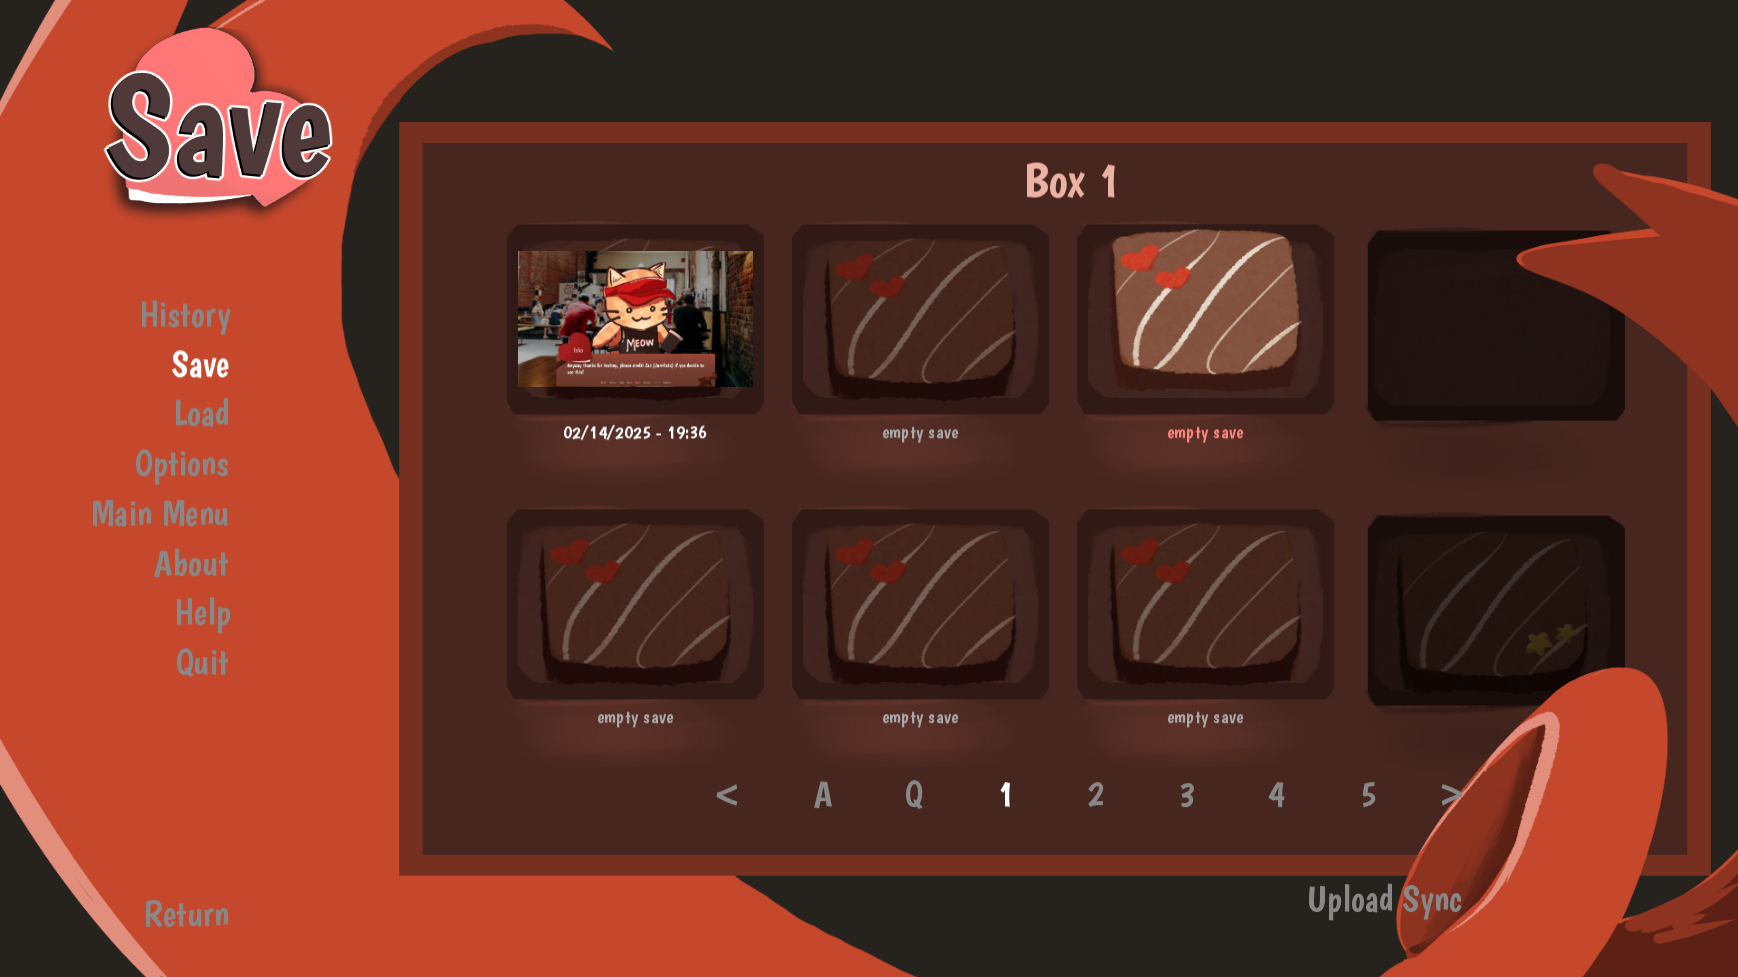
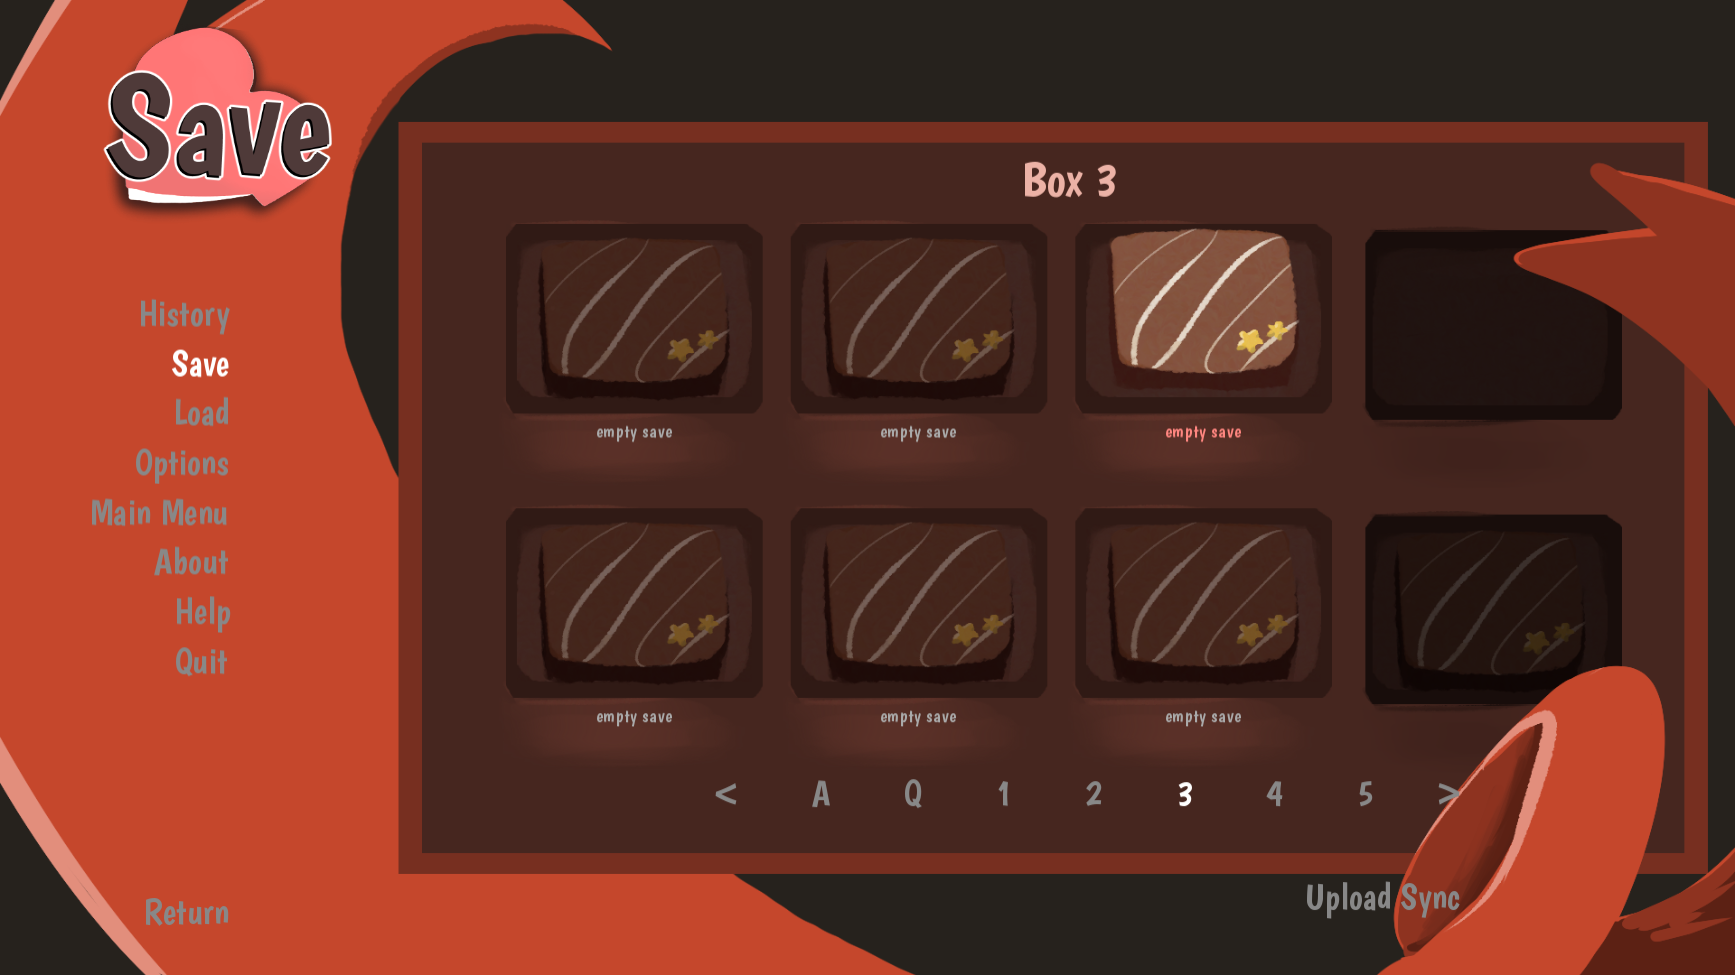
- Multiple Save-Button Art (Heart, Star, Plain)
- Game Menu Title Assets (Two Styles: Heart & Tag)
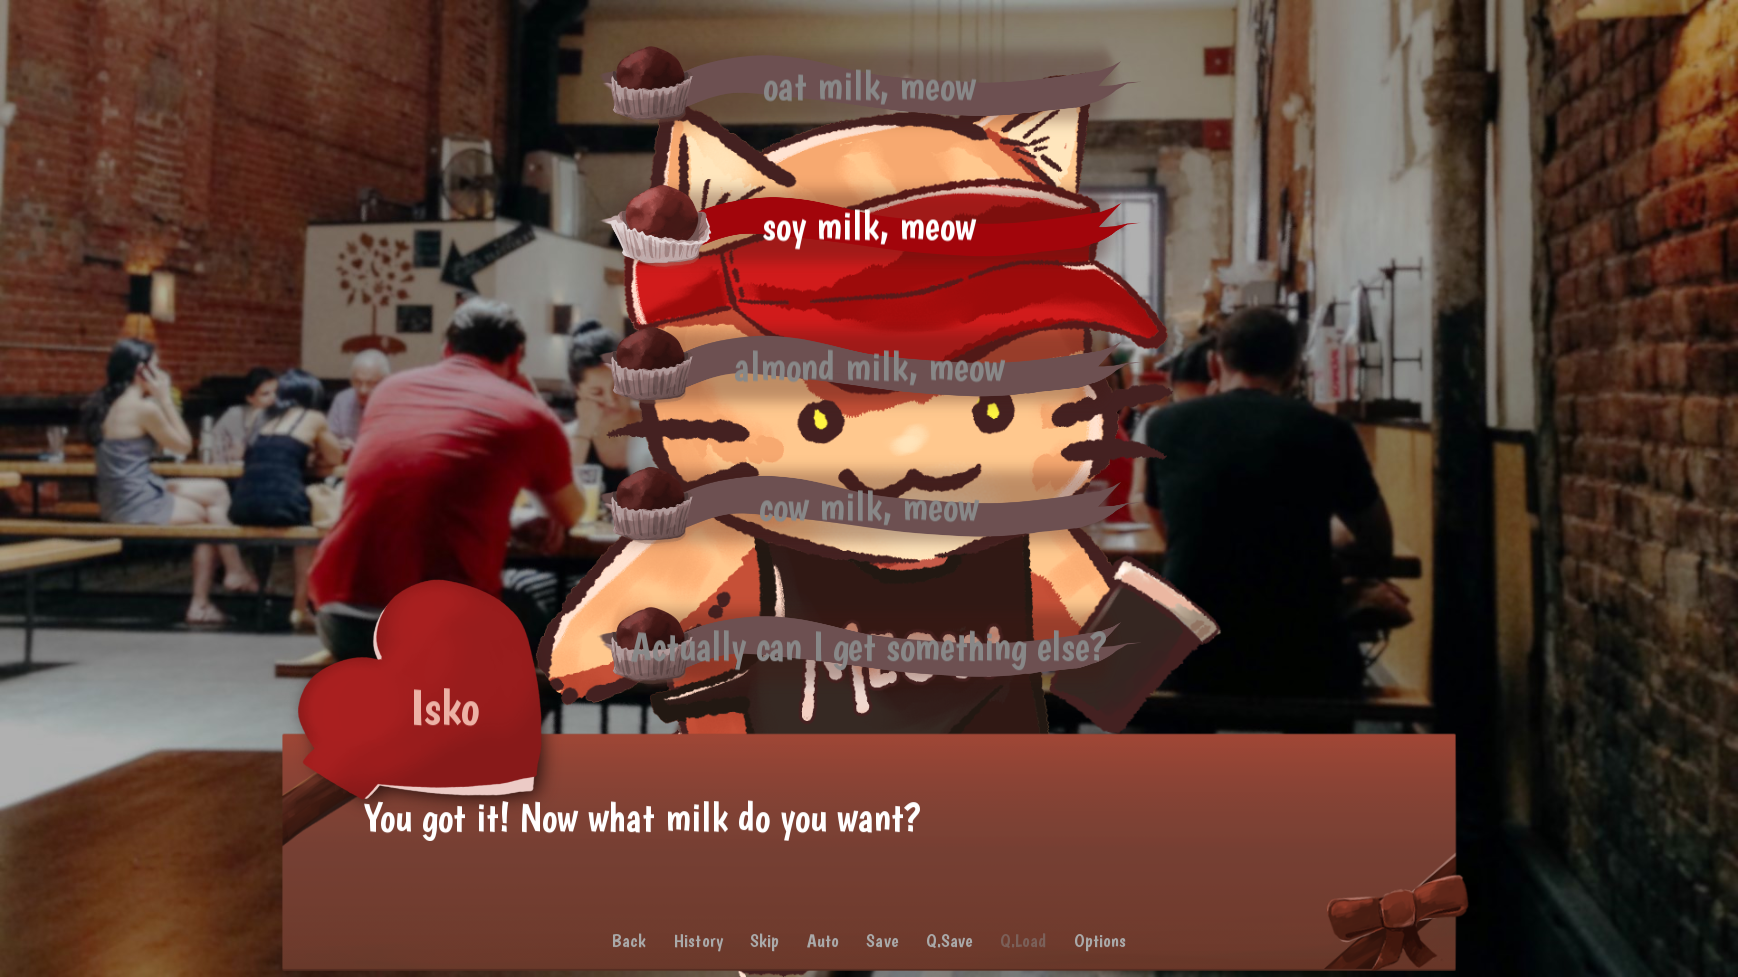
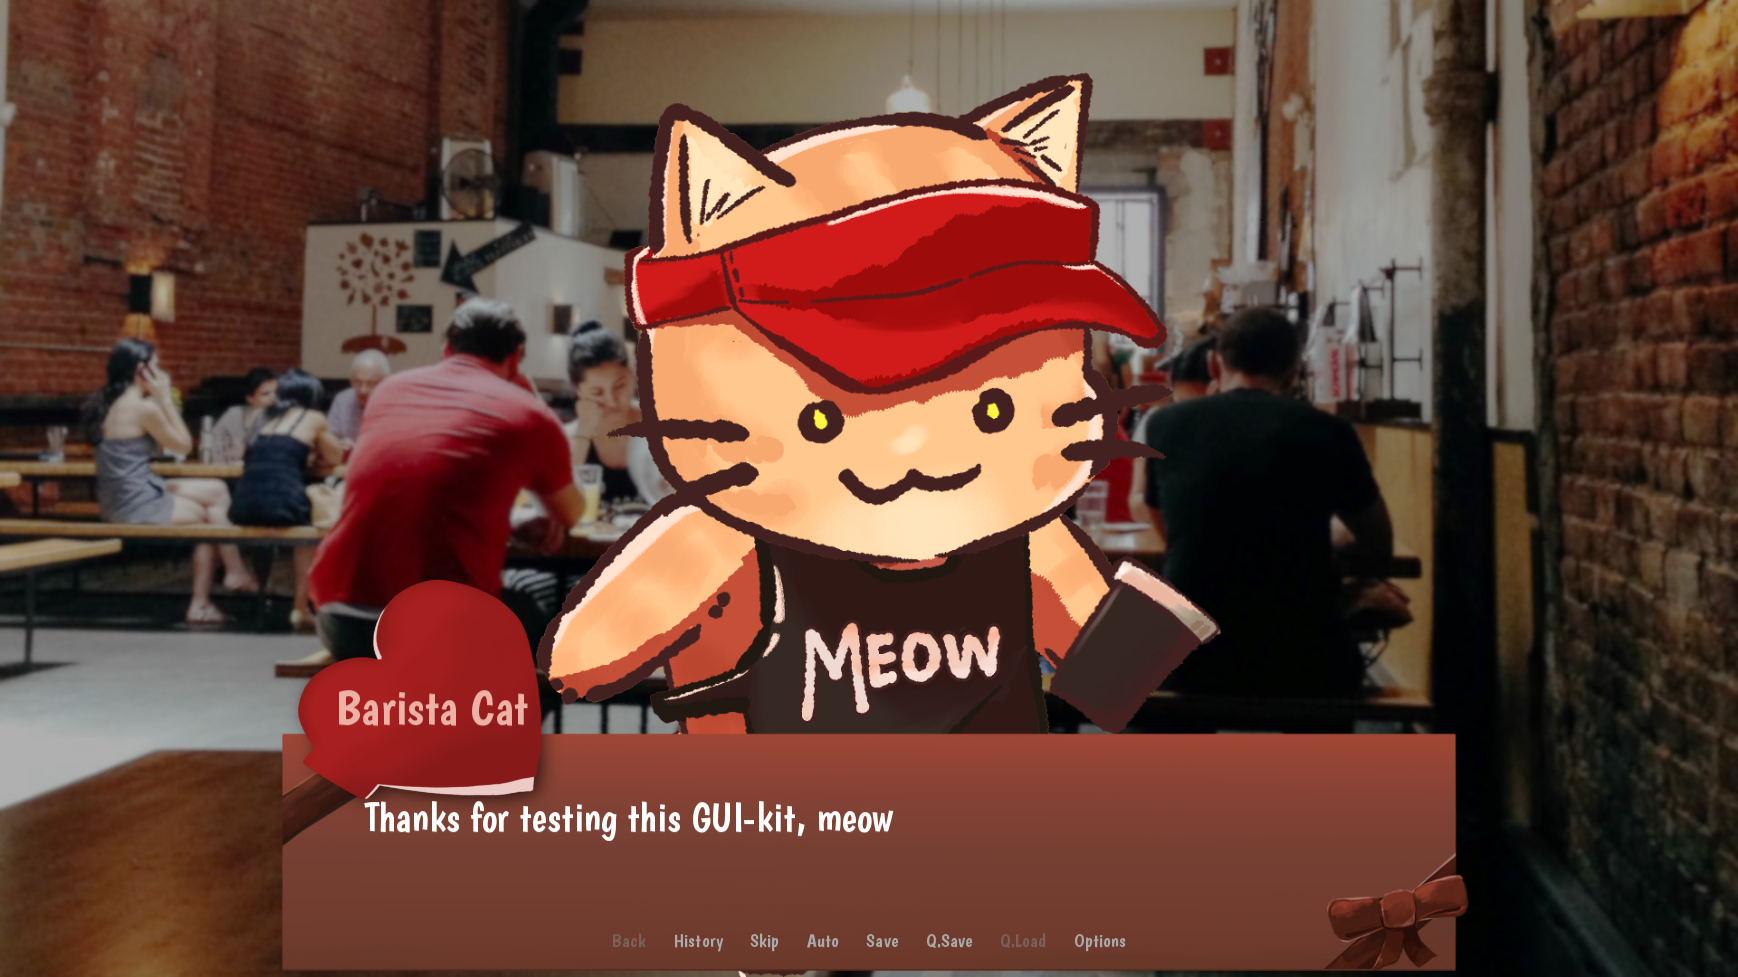
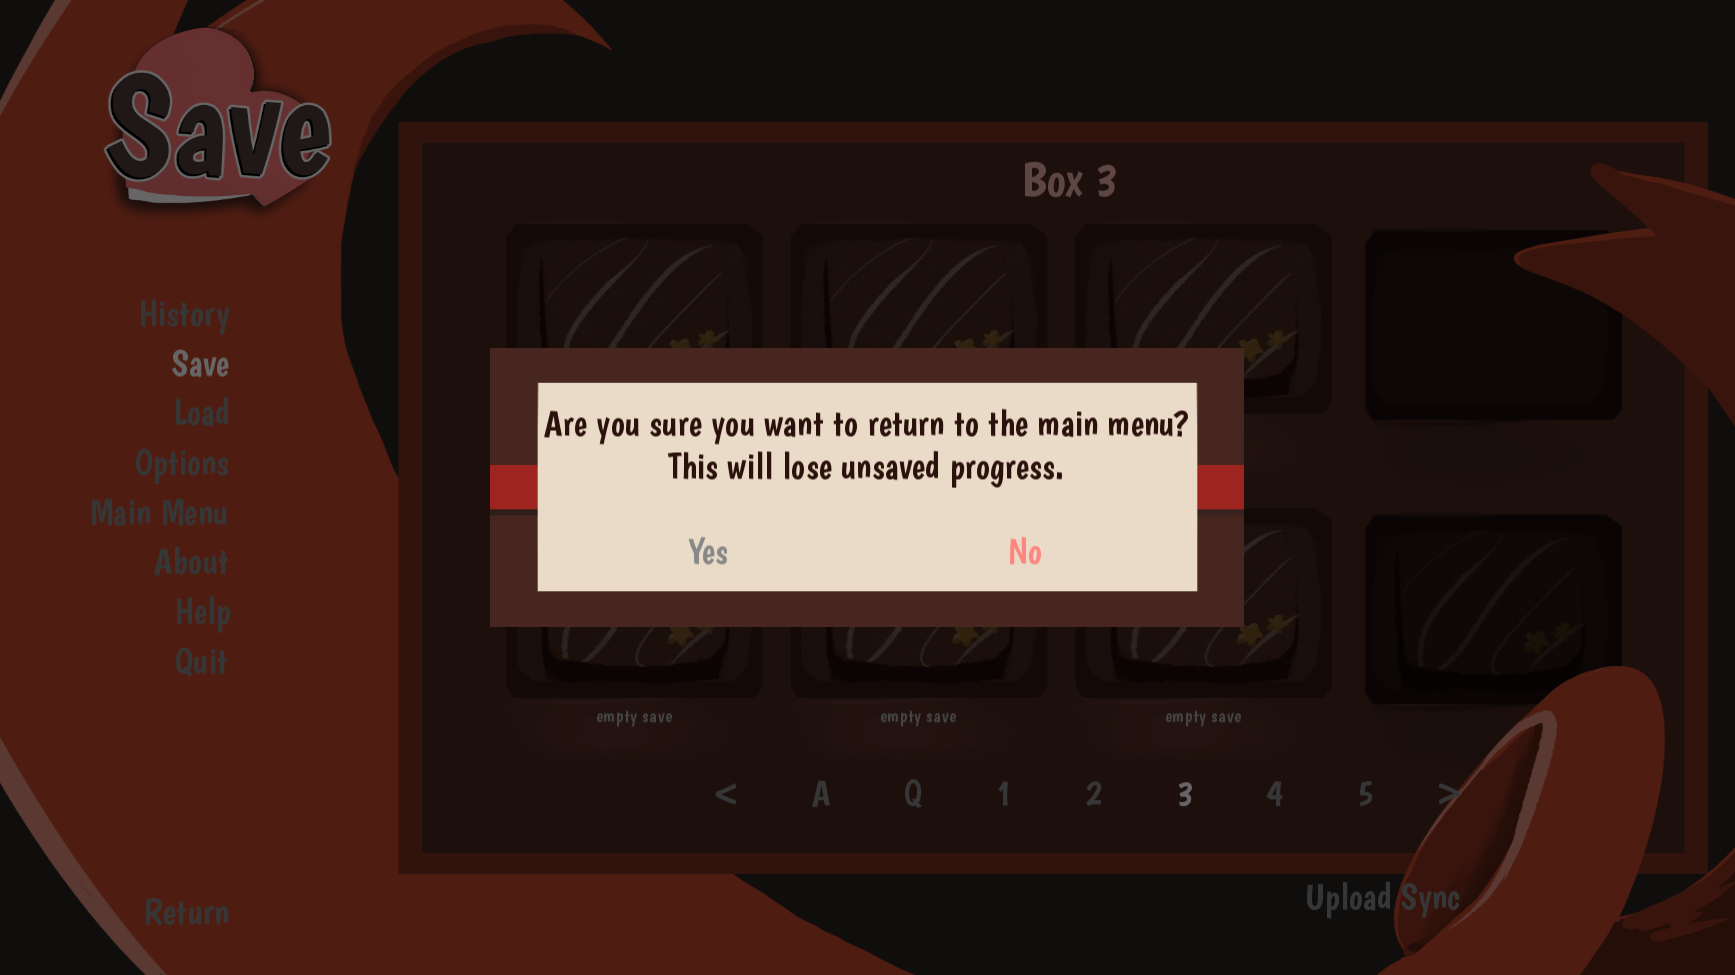
- Themed Choice Buttons, Dialogue & Name Box, Confirmation Frame
Also Includes...
- Font (Boogaloo)
- GUI & Screens Code Templates (for Ren'Py)
- Some .PSDs & .CSPs for additional customization
* Note: Assets were made in Clip Studio Paint, then exported into .PSD files. This shouldn't affect your ability to edit, but it's something to keep in mind!
Terms
Chocolate Box GUI Kit © 2025 by Zacarias (JamKats) is licensed under CC BY-NC-SA 4.0 ![]()
This means you can use, copy, share, adapt, etc, so long as it is Non-Commercial and you are giving Appropriate Credit (linking back to this page and/or my profile)!
Credits
Font: Boogaloo by John Vargas Beltrán (licensed under SIL Open Font License, Ver 1.1)
Demonstration Credits (not included in kit)
Music: Cafe? by Skar0ps [CC BY 4.0]
Background Image: Afternoon Coffee Shop Work Session by Gavin St. Ours [CC BY 2.0]
Isko (the cat used in the demonstration) is based on one of my IRL Cats and is a mascot for my sticker & stationery shop, JamKats!
--
Thank you for checking out this pack! As a reminder, this kit is FREE (given the terms & licensing above), but if you have enjoyed these assets, please consider tipping me on Ko-fi or dropping a follow on my socials!
Download
Install instructions
Thank you for downloading this asset pack!
This is my first time creating such a kit, so the template code (for Ren'Py) may be a little messy.
All of the assets in GUI Assets can be uploaded to replace files already in your GUI folder-- with the exception of the menu-title images. If you wish to implement these in your game, there are a few steps you must take:
- Open up screens.rpy and search gui.title_text_size
- Add the following
color "#FF000000" - Find each screen you would like to replace with the title image (About, Load, Save, Help, etc)
- Add the following before the "style" code:
add "gui/titles/about-title.png" pos(70, 25) xysize(338,225)- Ensure the path file between the quotation marks matches what you have in your game's GUI folder
- After going through all of the game-menu screens and adding the correct images, save and test your game!
Hopefully this is helpful to you. Thank you again!

Comments
Log in with itch.io to leave a comment.
Hello! Sorry to bother, but whenever I try to add the gui in, it shows me a LIST of errors.
Do you have a way to implement the gui? I'm kinda sad that I can't figure it out.
Hey there! I'm so sorry you're having trouble TnT
Since making this asset I've switched laptops, which made for the perfect test to implement this GUI into a new Ren'Py project >w< The first attempt failed and I got to see the errors, but the second attempt was more successful!
If the error starts with "While running game code: Exception: Could not find font u'Boogaloo.ttf" you likely have your fonts folder in the wrong spot. This folder must be added to/created in the game folder (so that the file path looks like: Project Title>game>fonts).
* load in load-title.png will be replaced with whatever menu title you are replacing!If you're still having errors, I would then recommend copying the code from the templates and pasting it into your scripts (for gui.rpy and screens.rpy respectively). Doing so in chunks may help figure out where the issue is coming from.
Also ensure all of the assets you've dragged over from the kit are named correctly! The GUI graphics provided have the same names as the default graphics, with the exception of the "Titles" folder (which replaces the menu titles with images! The file path is called at the end of each menu screen's code block, but if you'd like to add it manually, the code looks like this:
ex: "gui/titles/about-title.png" pos(70, 25) xysize(338,225)
If there's still an issue, please let me know! It's possible I'm forgetting something because I'm running low on sleep right now. Despite not being very technologically adept, I would love to help make this work for you!
Thanks for answering!
I'm new to Ren'py, so maybe that's why I'm having this issue. What exactly do I do with CSP and PSD files? Do I need them?
I got the list of errors while putting them in the GUI folder, but I wasn't sure where else to put them.
When I get rid of them there's some sort of glitch where, in the script, the lines aren't... correct? I'm not sure, it keeps putting new error on top of new error and it glitches between them, I can't exactly read it.
You don't need to add the CSP and PSD files to the project! They're provided in case you want to change the colours of anything (or even replace the font used in graphics with something better-suited for your game).
Is it possible to send a screenshot of the errors your getting? I'm not sure I'll be able to recreate the problem but it might help me figure out what's going on! You can also send it to jamkats.art@gmail.com if you'd prefer.
I've written this step-by-step just in case! (I apologize if providing it comes off the wrong way >.<)
Delicious, would eat every piece of this UI!
Thank you so much!
This is a really cute GUI and I love the warm palette. My only complaint is that the default grey color is really strenuous to look at when it's on the red but it still fits perfectly everywhere else!
Thank you!! And you've pinpointed one of my struggles when making this (lol... I've gone through so many reds/font colours trying to make it work 💔).
I earnestly appreciate the feedback and hope to revisit this to amend it soon! ^u^